[section_title title=Create Swap Space and Mount Drive]
Once Ubuntu has booted, press CTRL+ALT+F1 to get to a terminal. You can also use the terminal GUI app, but I prefer the console because it is quicker to get into.
Create the Swap Partition
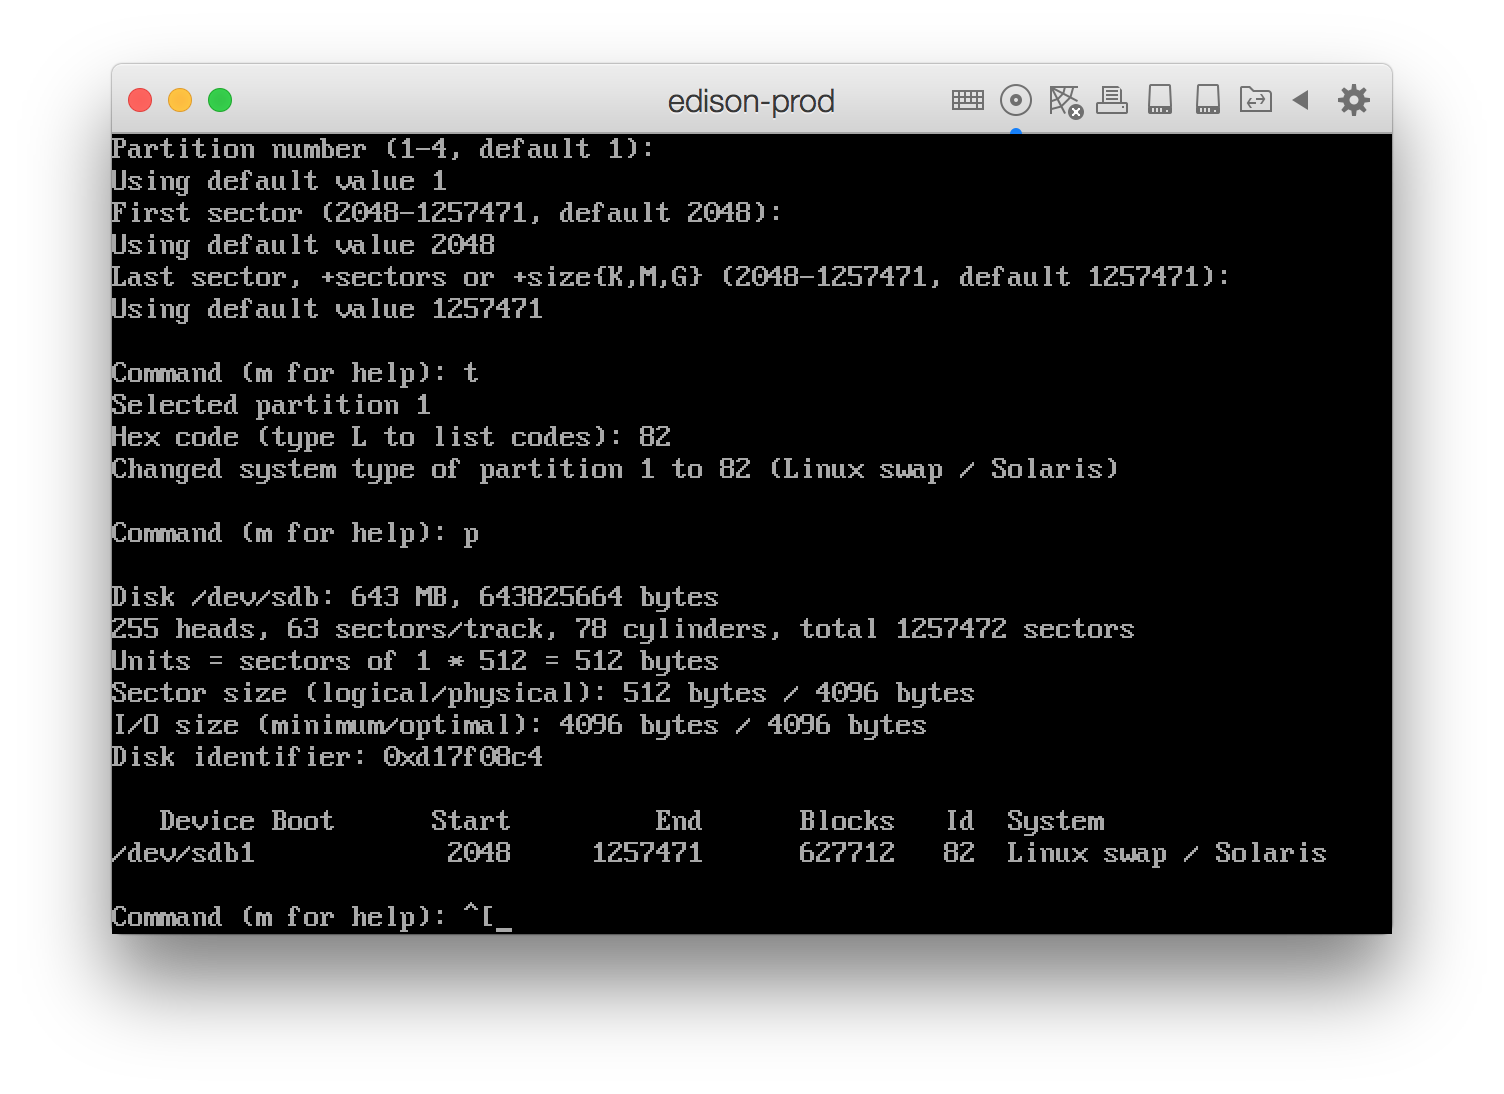
It’s critical that you make sure that you have the correct drive here. If you have been following this from the start you should have the new, smaller swap drive available as /dev/sdb. You can confirm this by using the print command in fdisk and double checking the disk size.
Start fdisk: sudo fdisk /dev/sdb
Create a new partition: n > p > take the defaults
Set the partition type: t > 82
Now verify that the partition table is correct by entering p. Confirm that it shows one partition with the appropriate size, and that the partition type is Linux swap / Solaris.
Write and quit fdisk: w
Finally create the swap space: sudo mkswap /dev/sdb1
Mount the Original Disk
Now we need to mount the converted disk image so we can adjust a few references.
sudo mount /dev/sda /mnt/