[section_title title=Import in Parallels and Configure the New Virtual Machine]
Now we are ready to import the virtual machine in Parallels Desktop and reconfigure.
Import in Parallels Desktop
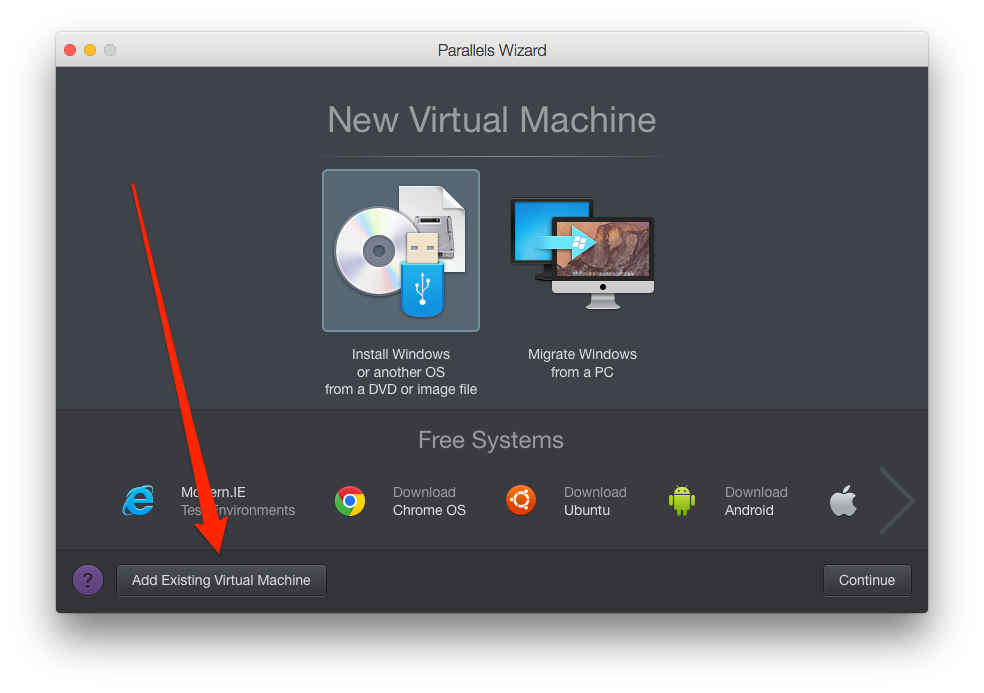
To import the VMC file go to File > New, and click on the “Add Existing Virtual Machine” button
Select the VMC file that you created in the last step. Parallels will now request permission to convert the VM to the Parallels format. It might also complain about not being able to detect the Operating System, you can safely ignore that.
Configure the New Virtual Machine and Boot
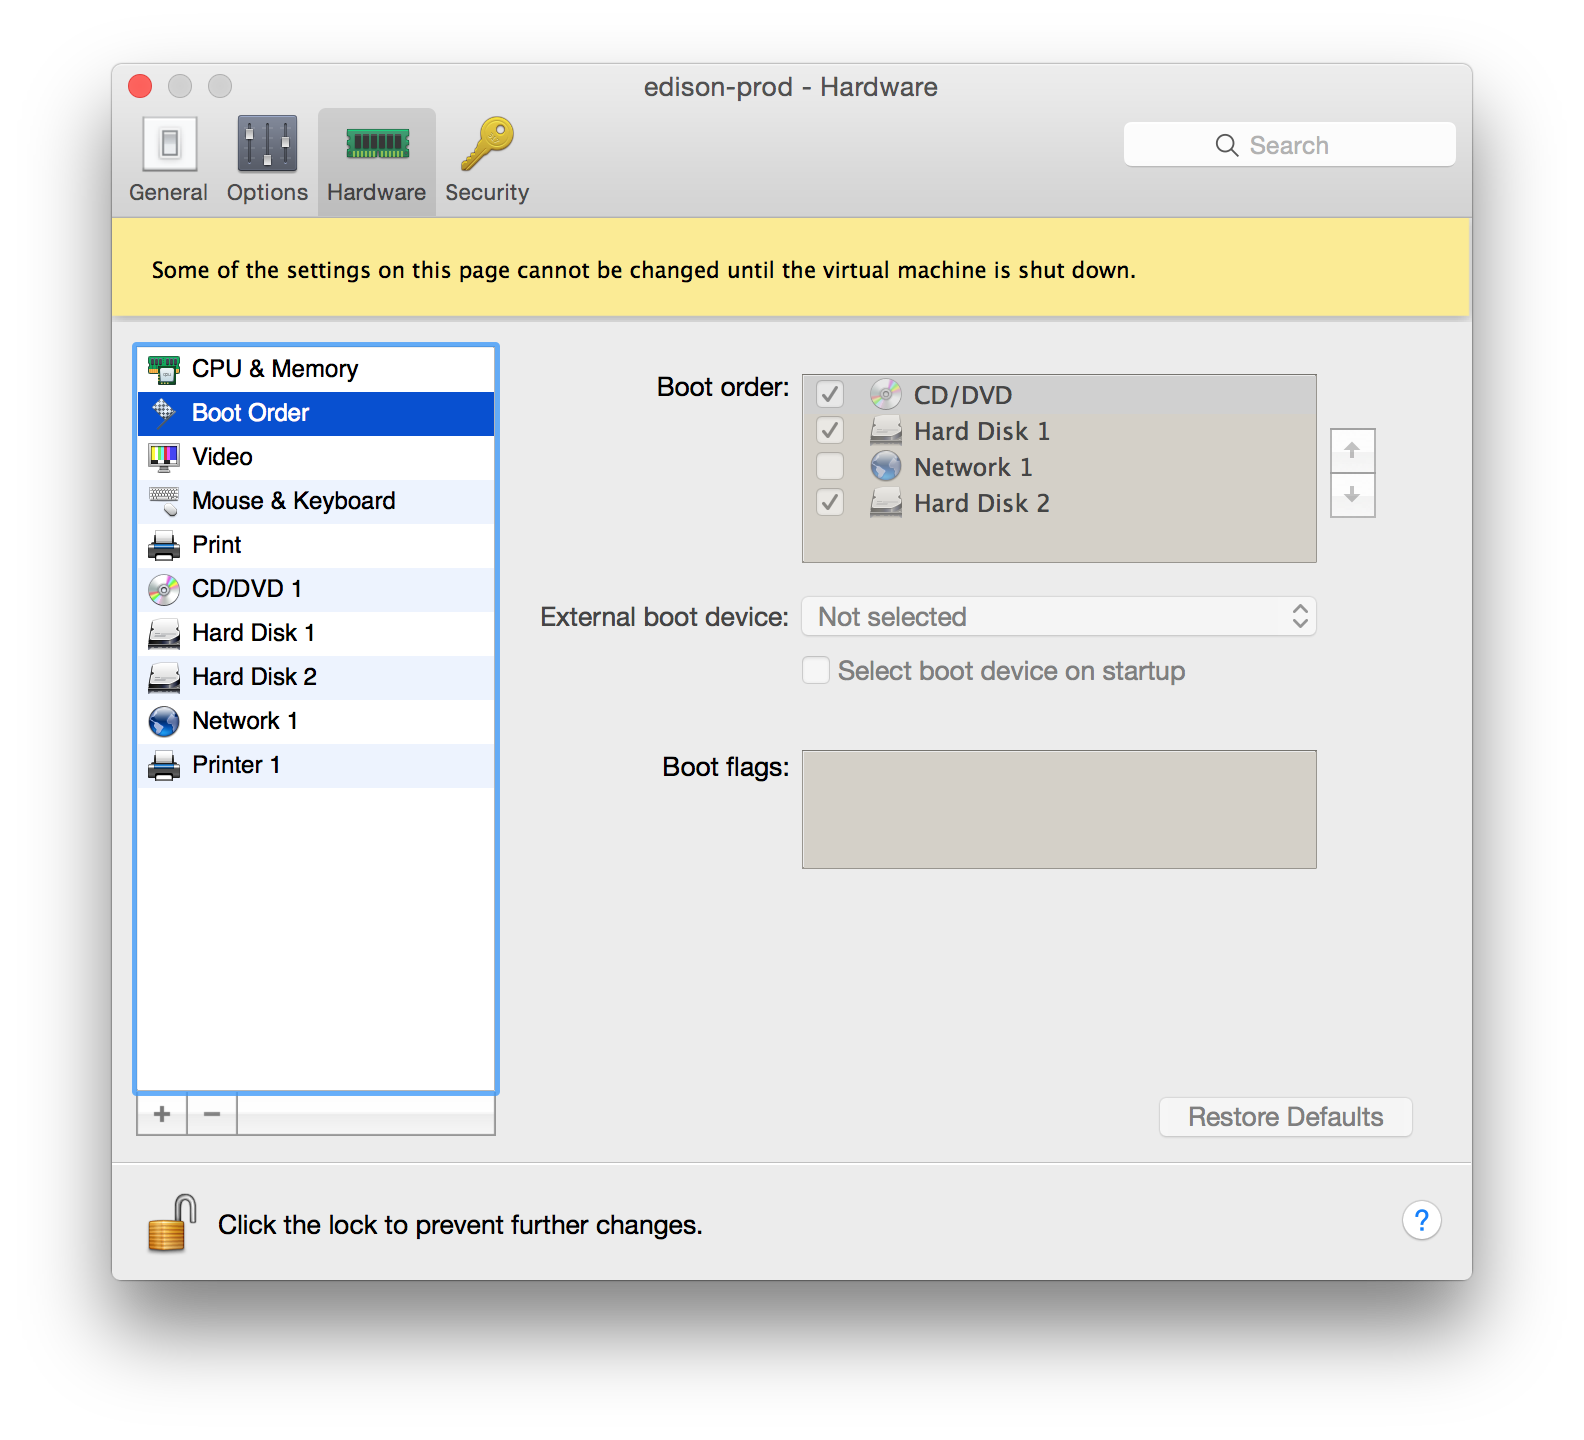
Once the conversion is complete Parallels should show you the new virtual machine. Before we boot it up, we need to make a few adjustments because the VMC file that we created was minimal.
- Add a network card.
- By default Parallels will assign 128MB memory, increase this accordingly.
- Add a new hard disk for the swap space. You can start with 512MB. Make sure that this is the second hard disk as we will be formatting it.
- Adjust the boot order and move CD/DVD to the top.
- Adjust any other settings like CPU, etc.
- Mount the Ubuntu CD image.
Go ahead and boot this image. It should boot from the CD and present you with a menu, select the “Try Ubuntu without Installing” entry.